
Introduction
Installing a smart doorbell camera can significantly enhance your home’s security and convenience. These devices combine surveillance technology and modern smart home integrations, giving you a reliable way to monitor your property remotely. However, a successful installation involves more than just mounting the camera—it requires careful planning and execution.
In this guide, we’ll cover the smart doorbell camera installation process step-by-step to ensure you get the best results. Whether you’ve chosen an advanced option like the LNDU Smart Lock with Camera or a simple, wireless MUBVIEW Doorbell, proper installation is key. If you’re still exploring your options, check out our guide on the Top 5 Smart Doorbell Cameras for detailed comparisons and feature breakdowns.
By the end of this article, you’ll have a clear understanding of what’s needed to set up your smart doorbell camera, where to install it, and how to avoid common mistakes.
Pre-Installation Checklist
A well-prepared checklist ensures a smooth and efficient smart doorbell camera installation. Before beginning, take the time to review these steps:
1. Confirm Compatibility
-
Wired or Wireless: Identify whether your doorbell camera requires hardwiring to an existing doorbell system or operates wirelessly with a battery. Models like the eufy Smart Doorbell offer dual power options, catering to different preferences.
- Smart Home Integration: Verify that the camera is compatible with your existing smart home systems, such as Alexa or Google Assistant, for seamless operation.
2. Gather Necessary Tools
Ensure you have all the tools recommended by the manufacturer. Typically, these include:
- A screwdriver (often included in the kit).
- Mounting screws or adhesive strips for wireless options like the MUBVIEW Doorbell.
- A power drill (for wired installations or brick walls).
3. Test the Device
Before mounting the camera, power it on and test key features such as video quality, motion detection, and two-way audio to confirm it works as expected.
4. Check Internet Connectivity
-
A strong Wi-Fi connection is crucial for uninterrupted operation. Devices like the TP-Link Tapo Doorbell recommend placing the router within 30 feet of the camera for optimal performance.
- Consider installing a Wi-Fi extender if the signal strength in your entryway is weak.
5. Review Local Regulations
Some regions require homeowners to notify visitors if video surveillance is in use. Adding a small sticker or sign can help you stay compliant.
If you’re still deciding on the best camera for your needs, visit our guide on How to Choose the Right Smart Doorbell Camera for Your Home to explore buying tips tailored to your preferences.
Selecting the Right Location for Installation
Choosing the right location for your smart doorbell camera installation is critical to achieving maximum security coverage and usability. Here’s how to identify the perfect spot:
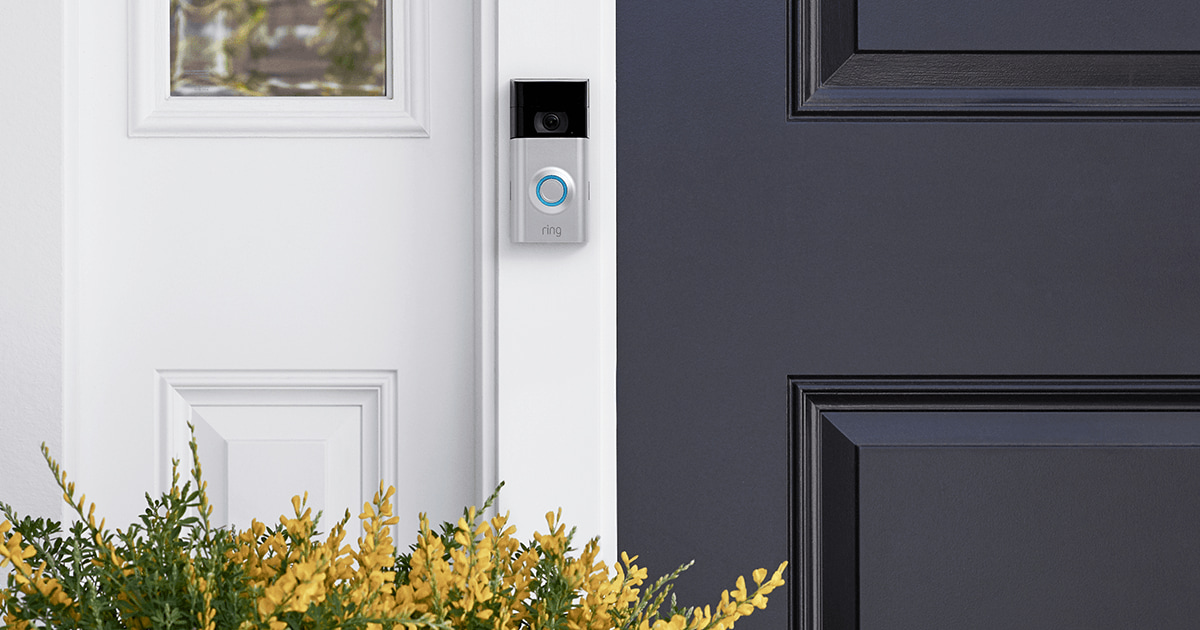
1. Optimal Height for Mounting
Mount the doorbell camera approximately 4 to 5 feet from the ground. This height provides the best angle for capturing visitors’ faces while minimizing glare from lighting or the sun.
2. Coverage Area
-
Wide Fields of View: For devices like the TP-Link Tapo with a 160° FOV, positioning at the center of your entryway ensures comprehensive coverage.
- Dual Cameras: Cameras such as the MUBVIEW Dual Doorbell are ideal for areas prone to package theft, as they also monitor the ground directly in front of your door.
3. Avoiding Obstructions
-
Ensure there are no physical obstructions like plants, decorations, or furniture that could block the lens.
- Minimize reflective surfaces nearby to prevent image distortion.
4. Light Conditions
Consider the direction of natural light at your entryway. Most doorbell cameras, such as the eufy 2K model, are equipped with HDR capabilities to handle strong backlighting. If your chosen spot is dim, models like the Blink Doorbell with infrared night vision perform well in low-light conditions.
5. Weather Considerations
If the camera is exposed to rain, snow, or direct sunlight, ensure it has the appropriate IP rating (e.g., IP65). For areas with harsh climates, refer to features like the TP-Link Tapo's waterproof design to maintain longevity.
For an in-depth look at camera-specific placement tips, explore our guide on the Top Features to Look for in a Smart Doorbell Camera in 2025.
Step-by-Step Smart Doorbell Camera Installation Guide
Setting up your smart doorbell camera might seem intimidating at first, but by following these step-by-step instructions, you can ensure a hassle-free installation. Whether your camera is wired or wireless, this guide will help you mount and configure it effectively.
1. Unbox and Inspect the Components
Before starting, ensure all components are present. Most kits, like the ones from LNDU or MUBVIEW , typically include:
- The doorbell camera unit.
- Mounting bracket.
- Screws, anchors, and a screwdriver.
- User manual and a power supply unit (if applicable).
2. Mark the Mounting Spot
-
Wired Cameras: Place the camera where your existing doorbell is located. Remove the old device but keep the wires exposed.
- Wireless Cameras: Position the camera using the included mounting bracket and test coverage with a temporary adhesive before drilling.
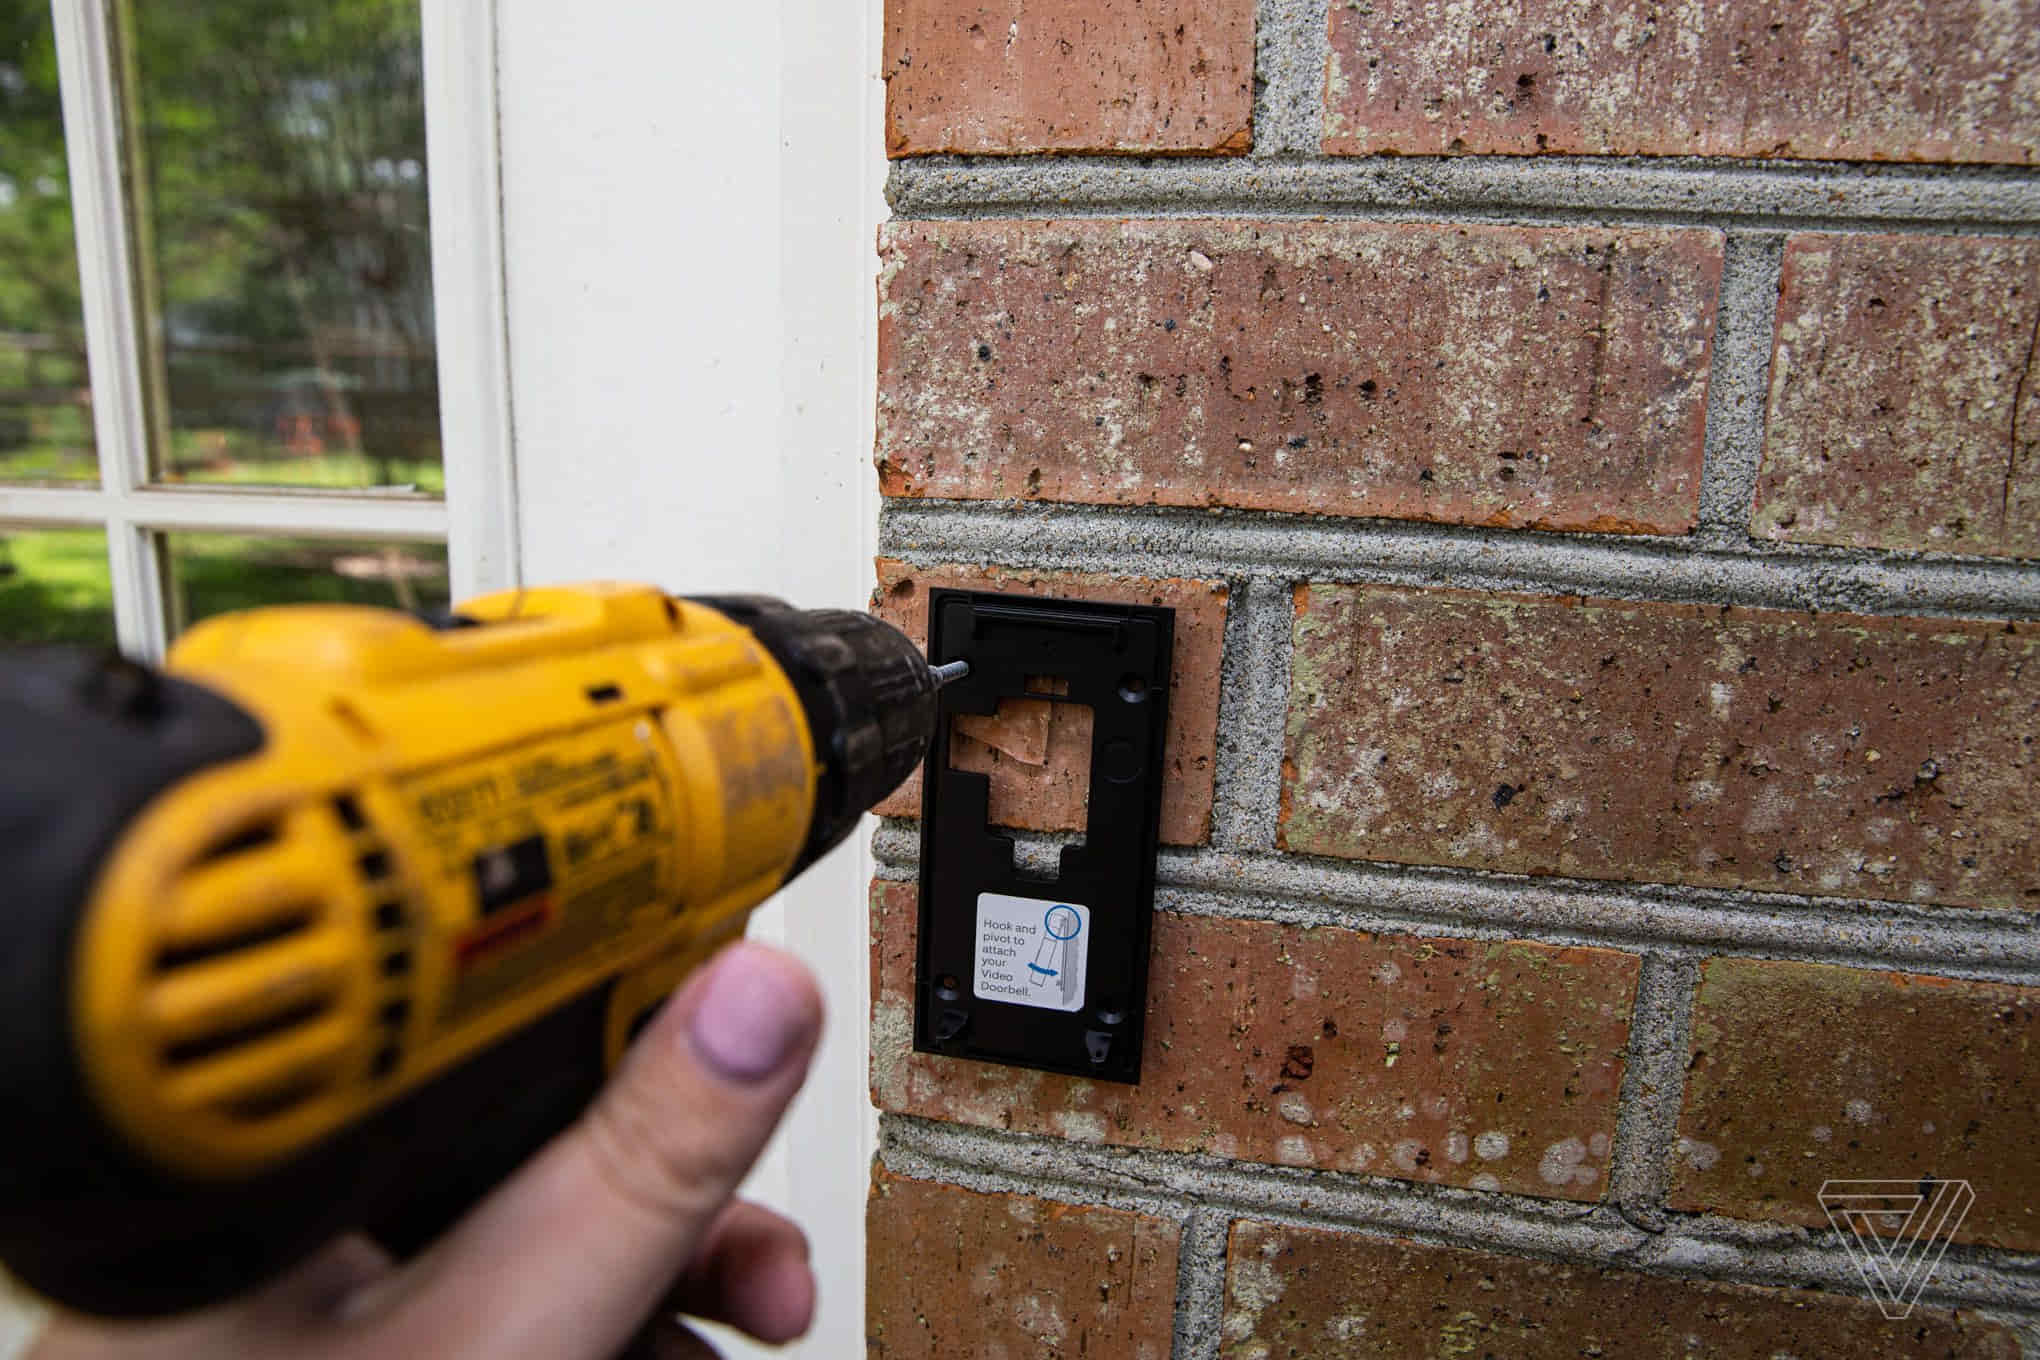
3. Attach the Mounting Bracket
Using the provided screws and anchors, secure the mounting bracket to the wall. For brick or concrete walls, pre-drill holes to ensure a snug fit. Devices like the TP-Link Tapo include optional wedges to adjust viewing angles.
4. Connect to Power
-
For Wired Models: Connect the existing doorbell wires to the camera’s terminal screws. Use the included instructions to match wire polarity.
- For Wireless Models: Install and charge the battery. Confirm the charge level is sufficient before proceeding with the setup.
5. Set Up the Camera
-
Download the manufacturer’s app (e.g., Blink, TP-Link, or eufy apps).
- Follow the on-screen instructions to connect the doorbell camera to your home Wi-Fi network. Ensure the signal strength at the camera location is strong.
6. Test the Device
-
Verify that the video feed is clear and motion detection is functioning as expected.
- Use two-way audio to test communication features.
- Adjust the device settings for video storage, notifications, and integration with smart home systems like Alexa or Google Assistant.
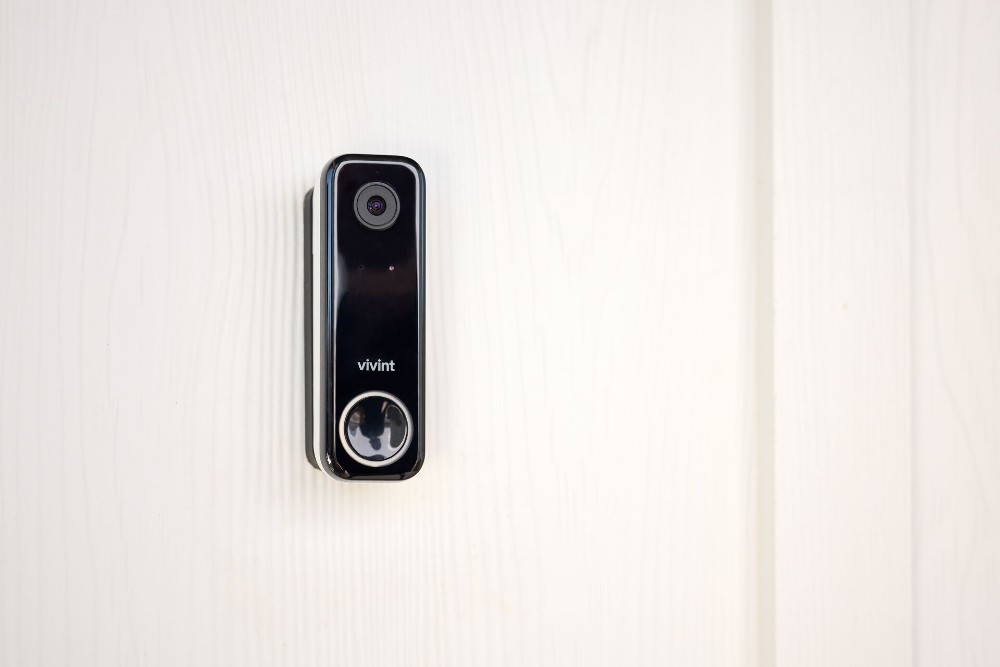
7. Finalize Installation
Secure the camera to its mount, ensuring all connections are tight. Perform a final inspection to confirm proper alignment and coverage of the entryway.
If you encounter unique installation challenges, read this article till the end.
Common Installation Challenges and How to Overcome Them
Even with clear instructions, installing a smart doorbell camera can present obstacles. Here’s how to navigate the most common challenges:
1. Weak Wi-Fi Signal
A poor Wi-Fi signal can disrupt the connection, resulting in lagging video or missed alerts.
Solution:
- Move your router closer to the doorbell, or use a Wi-Fi extender.
- Choose cameras that operate on 2.4 GHz Wi-Fi (e.g., MUBVIEW and eufy) for better range and penetration.
2. Power Supply Issues
For wired models, improperly connected wires may prevent the doorbell from powering on.
Solution:
- Double-check connections, ensuring wires are attached securely and polarity is correct.
- Use a multimeter to test voltage; many devices require 16-24 VAC.
3. Improper Mounting Surface
Mounting on uneven or hard-to-drill surfaces can cause alignment issues.
Solution:
- Use adjustable brackets or wedges included in devices like the TP-Link Tapo for precise angling.
- Pre-drill holes for hard surfaces, such as brick or concrete, to simplify screw placement.
4. Difficulty Connecting to Smart Home Systems
Integration with platforms like Alexa or Google can fail during setup.
Solution:
- Ensure you’ve installed the correct app and enabled necessary skills or permissions.
- Restart devices and check for firmware updates.
5. False Notifications
Excessive alerts from minor movements like leaves or animals can frustrate users.
Solution:
- Adjust the motion sensitivity or create activity zones using app settings.
- Explore models with advanced AI, like TP-Link or Blink, to minimize false positives.
If you’re curious about how these cameras differ from traditional systems, visit our guide on Smart Doorbell Cameras vs. Traditional Doorbells.
Post-Installation Tips for Maximizing Efficiency
Your smart doorbell camera installation doesn’t end with mounting the device. These post-installation tips will ensure optimal performance and usability:
1. Customize Motion Settings
-
Set motion zones to prioritize specific areas like your doorway while ignoring busy streets or trees.
- Fine-tune sensitivity to reduce false notifications.
2. Perform Regular Maintenance
-
Clean the camera lens with a soft, dry cloth every month to maintain clarity.
- Check and recharge batteries for wireless models like MUBVIEW and Blink.
3. Update Firmware
-
Regular updates improve camera performance, add new features, and patch security vulnerabilities.
- Enable automatic updates through the app whenever possible.
4. Test Smart Features Periodically
-
Ensure that integrations with Alexa or Google Assistant continue to function seamlessly.
- Test two-way audio, live view, and alerts every few weeks to catch any connectivity or hardware issues early.
5. Optimize Video Storage
-
Review stored videos regularly to clear unnecessary footage.
- Secure local storage options, such as microSD cards or internal storage, to prevent tampering.
For insights on maximizing device usage, check out our article on How to Choose the Right Smart Doorbell Camera for Your Home for system optimization and related features.
Stay Secure and Efficient
By following these best practices, you’ll not only streamline your smart doorbell camera installation but also enhance its functionality and longevity. A well-installed device adds value, security, and convenience to your home. If you’re still deciding which model suits your needs, revisit our Top 5 Smart Doorbell Cameras for guidance tailored to your preferences.
Conclusion: Secure Your Home with Confidence
A smart doorbell camera is more than a modern gadget—it’s a crucial part of protecting your home and enhancing your peace of mind. By following best practices during installation and tailoring the device’s settings to suit your specific needs, you’ll maximize both security and convenience.
From deterring package theft to keeping an eye on unexpected visitors, a properly installed smart doorbell camera acts as a vigilant guardian for your home. With the right placement, careful configuration, and regular maintenance, your investment will provide reliable performance for years to come.
Take the time to prepare, install, and optimize your device to experience the full benefits of advanced home security. With confidence in your setup, you can enjoy a safer, smarter home—one that’s always in your control, no matter where you are.
